1. Choose Your Video Style
There is one thing you need to know before you begin. Training video can be done in several different video styles, that take different level of expertise to accomplish. If you know this, you can set your expectations straight and plan things accordingly.
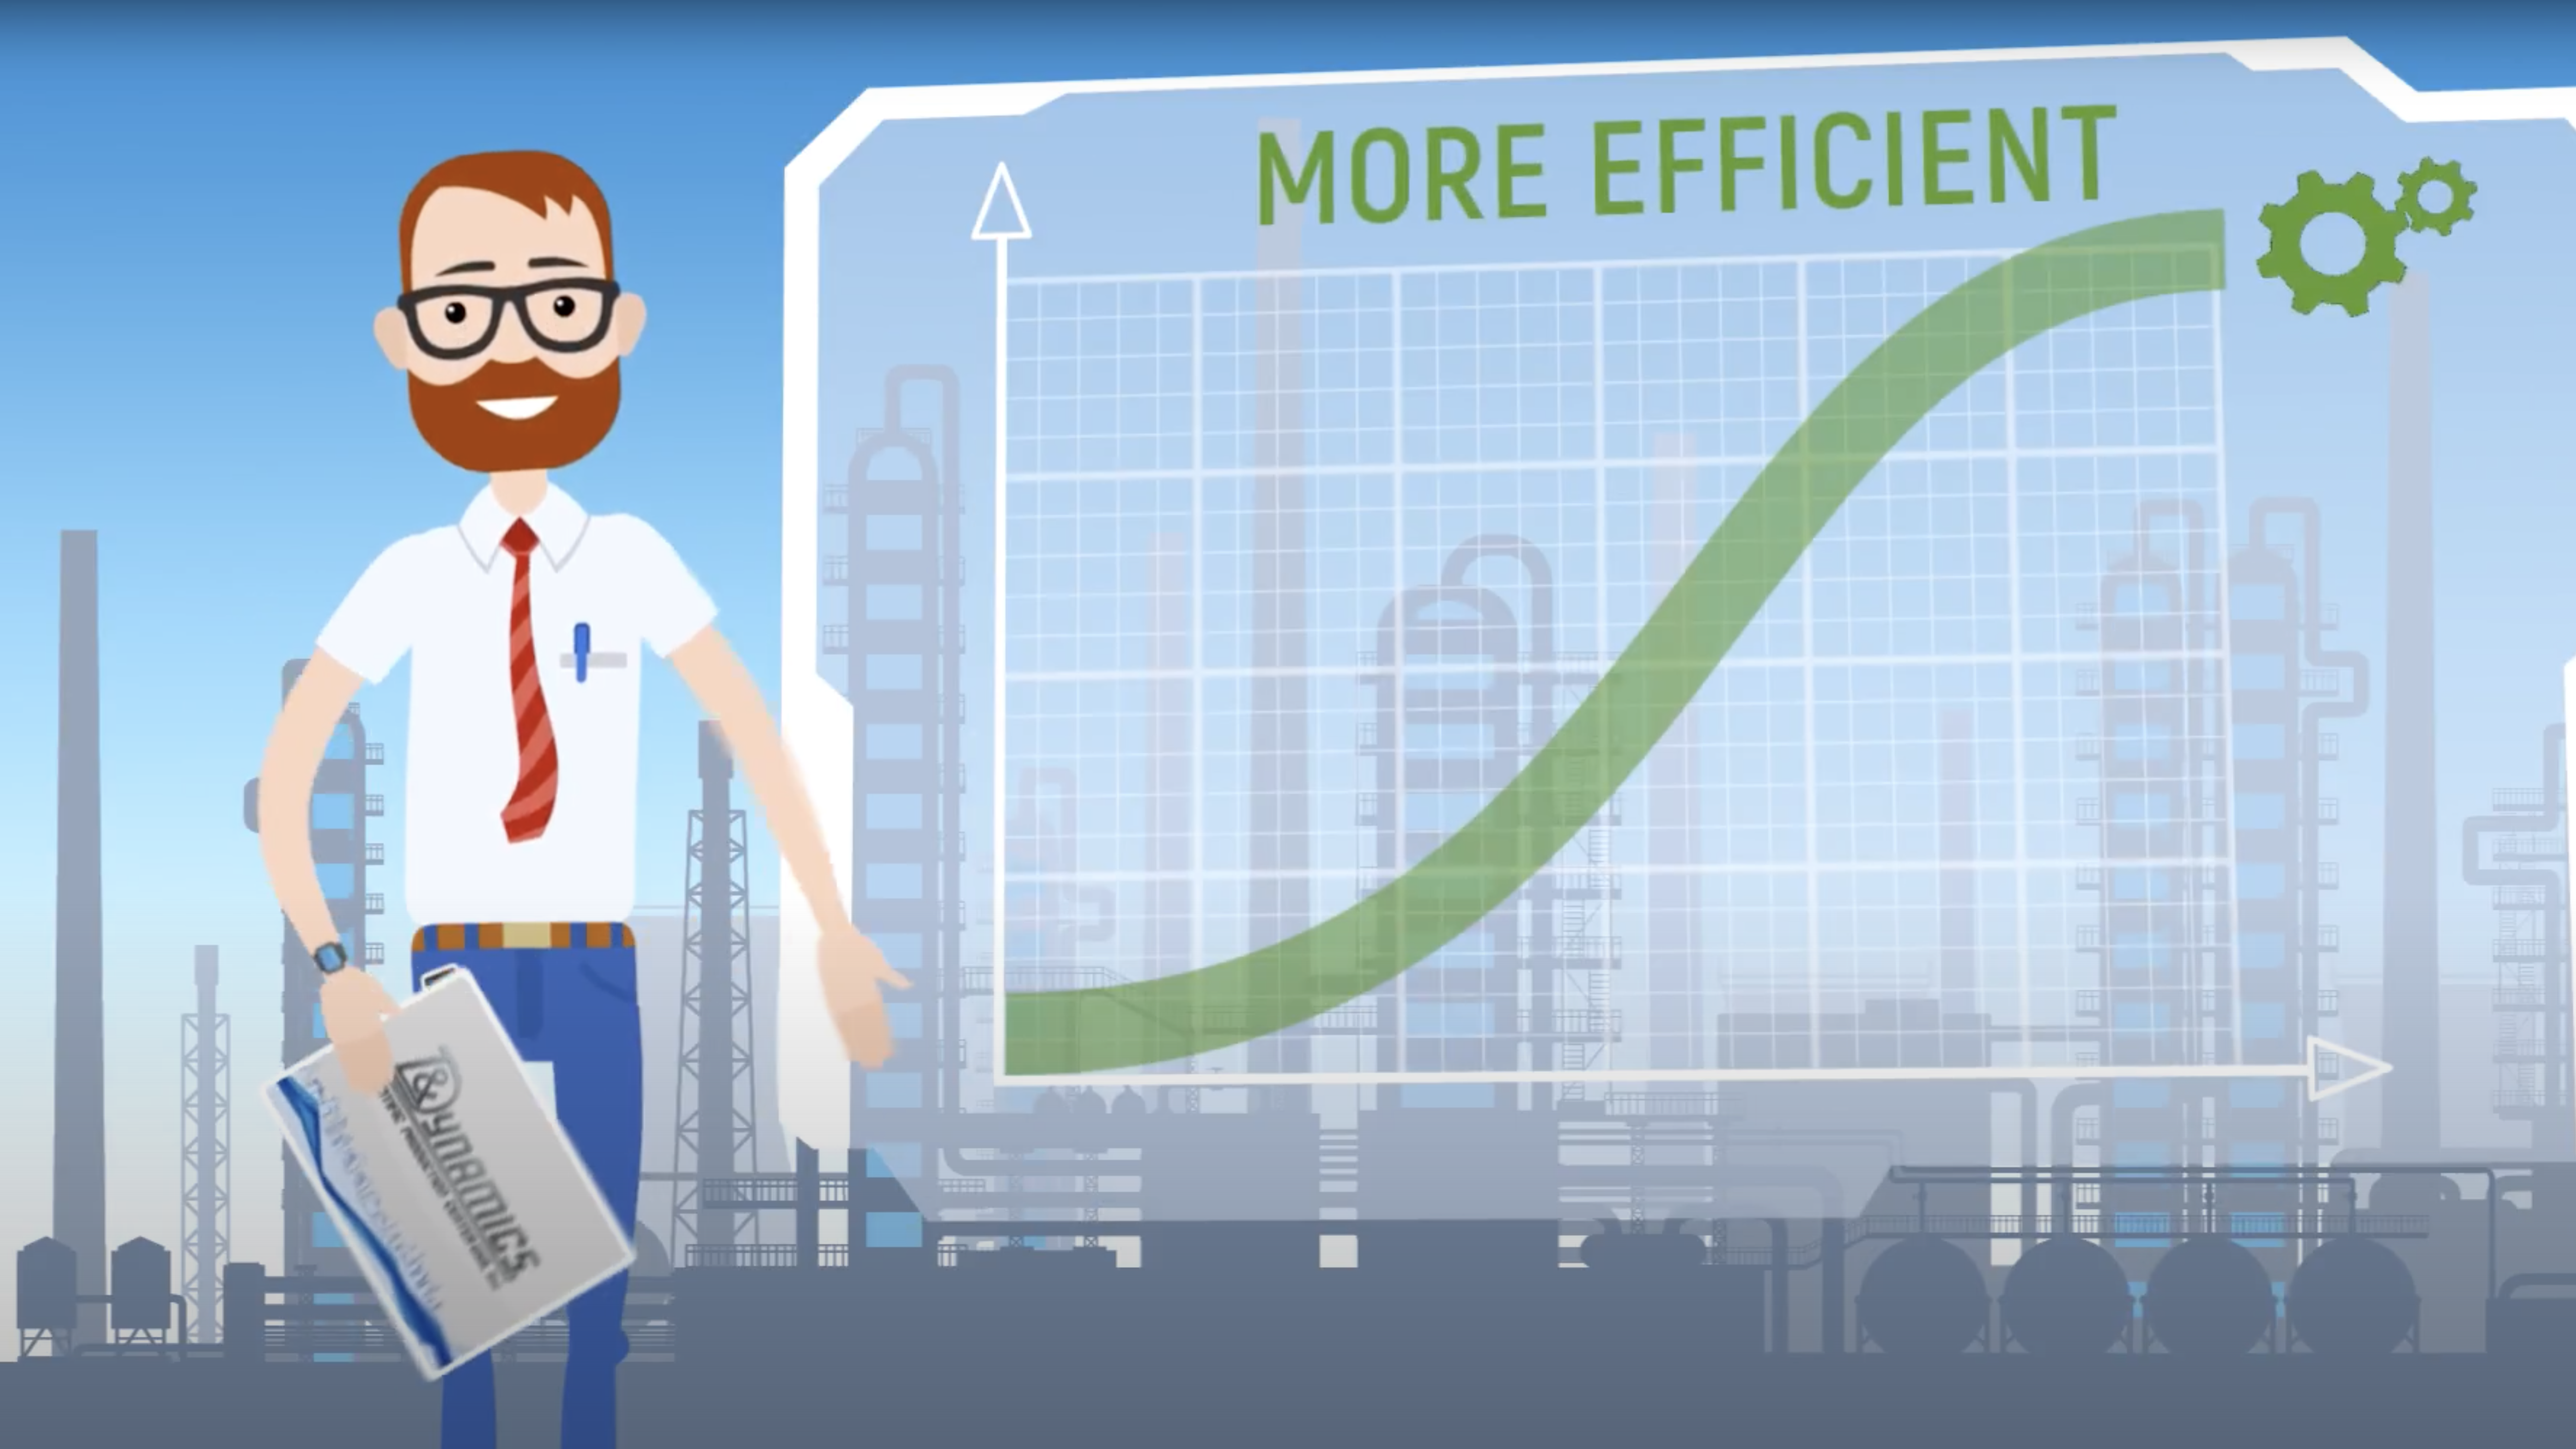
While animated explainer can be a great tool to convey complex ideas, this is the most complex style of video to make. So unless you have a team of animators or motion graphics designers at hand, we suggest you to consider another style.
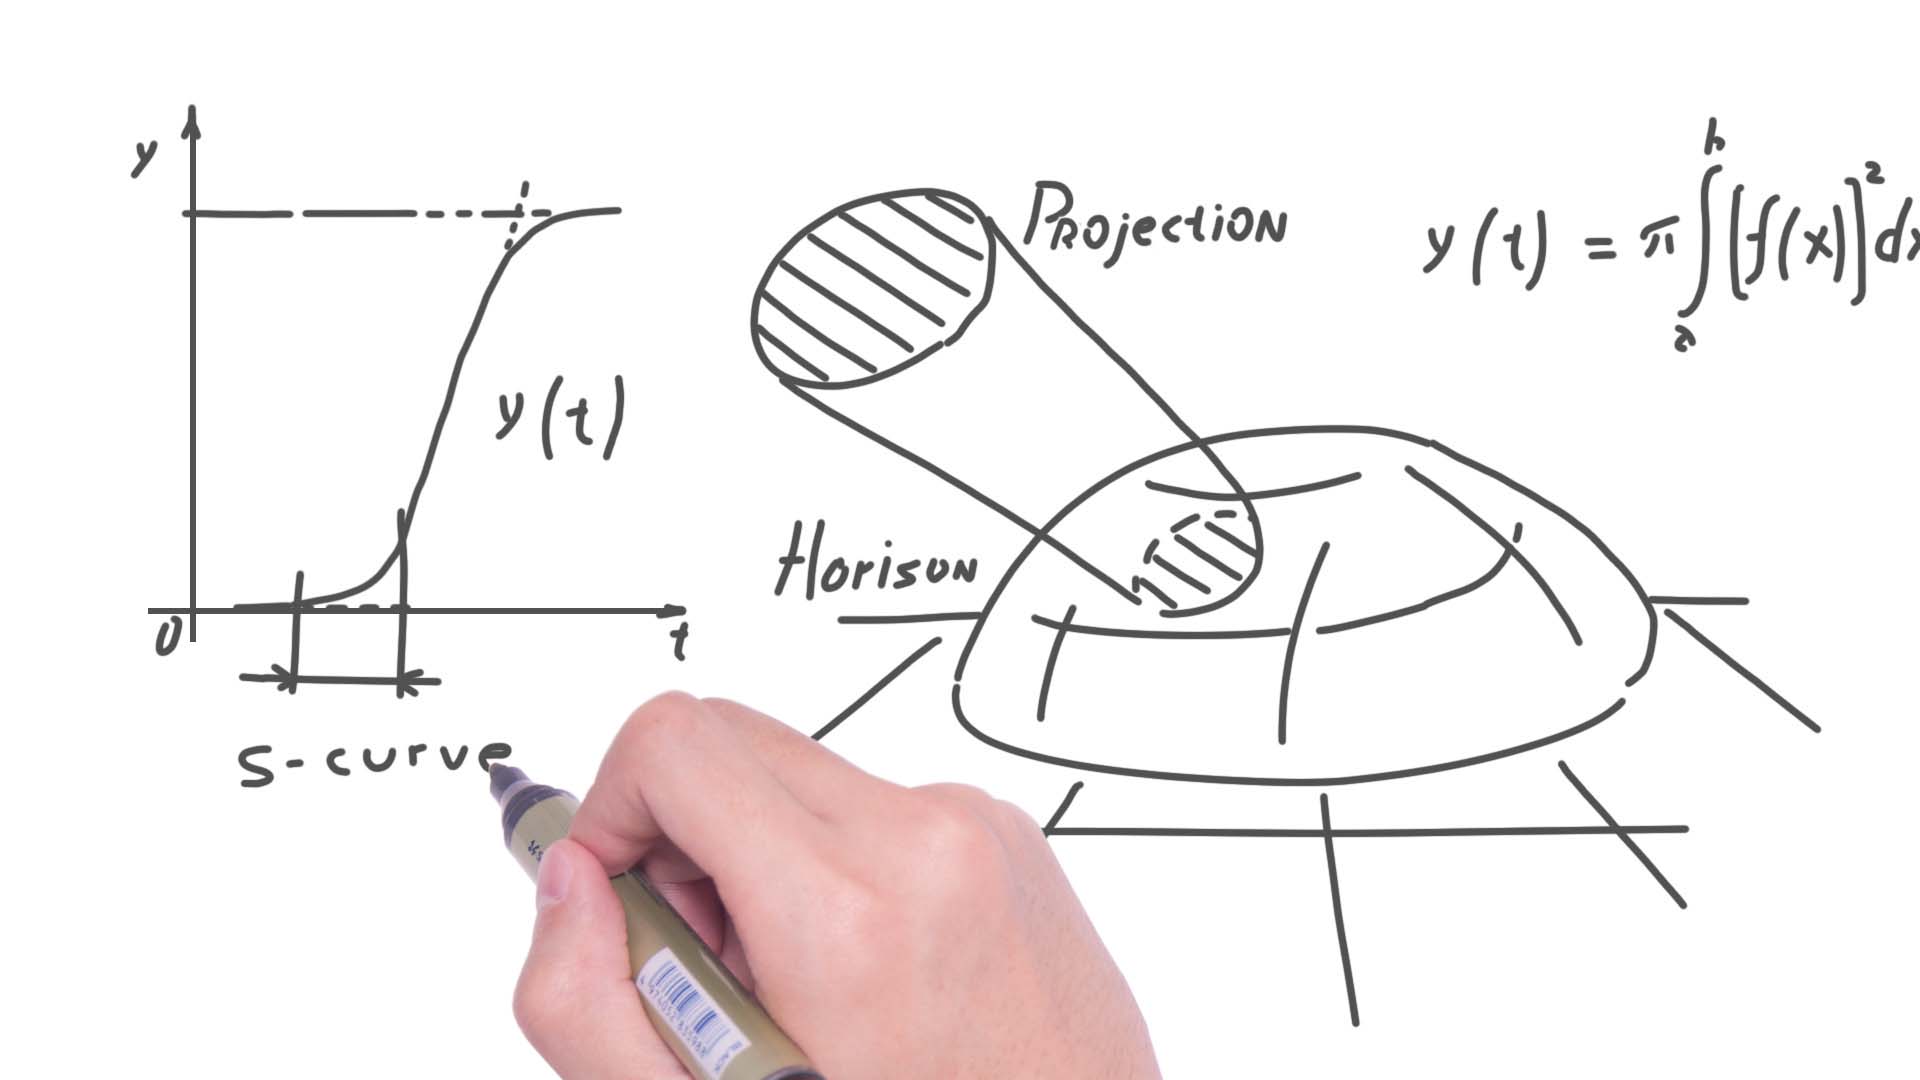
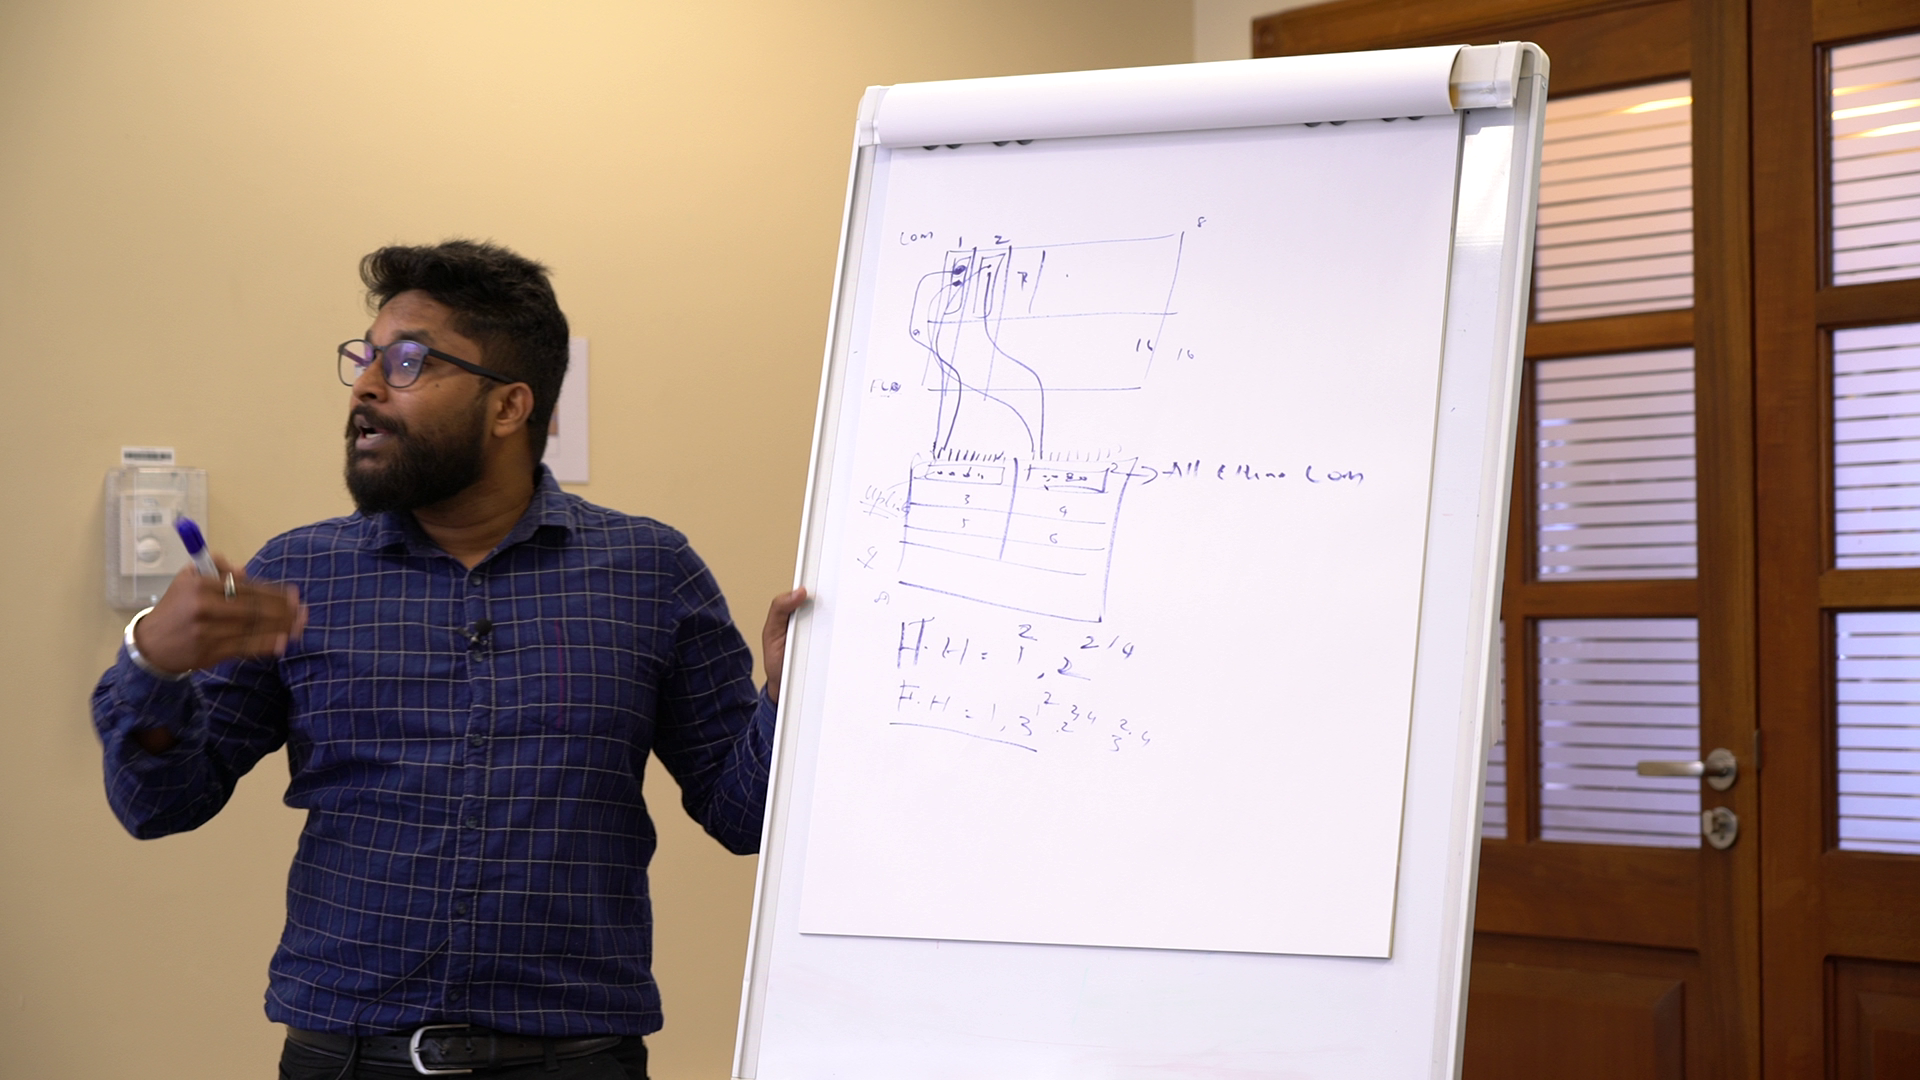
Whiteboard videos can be computer animated or filmed as a live action. While the first option is still quite complex, the second is fairly realistic to make in-house.
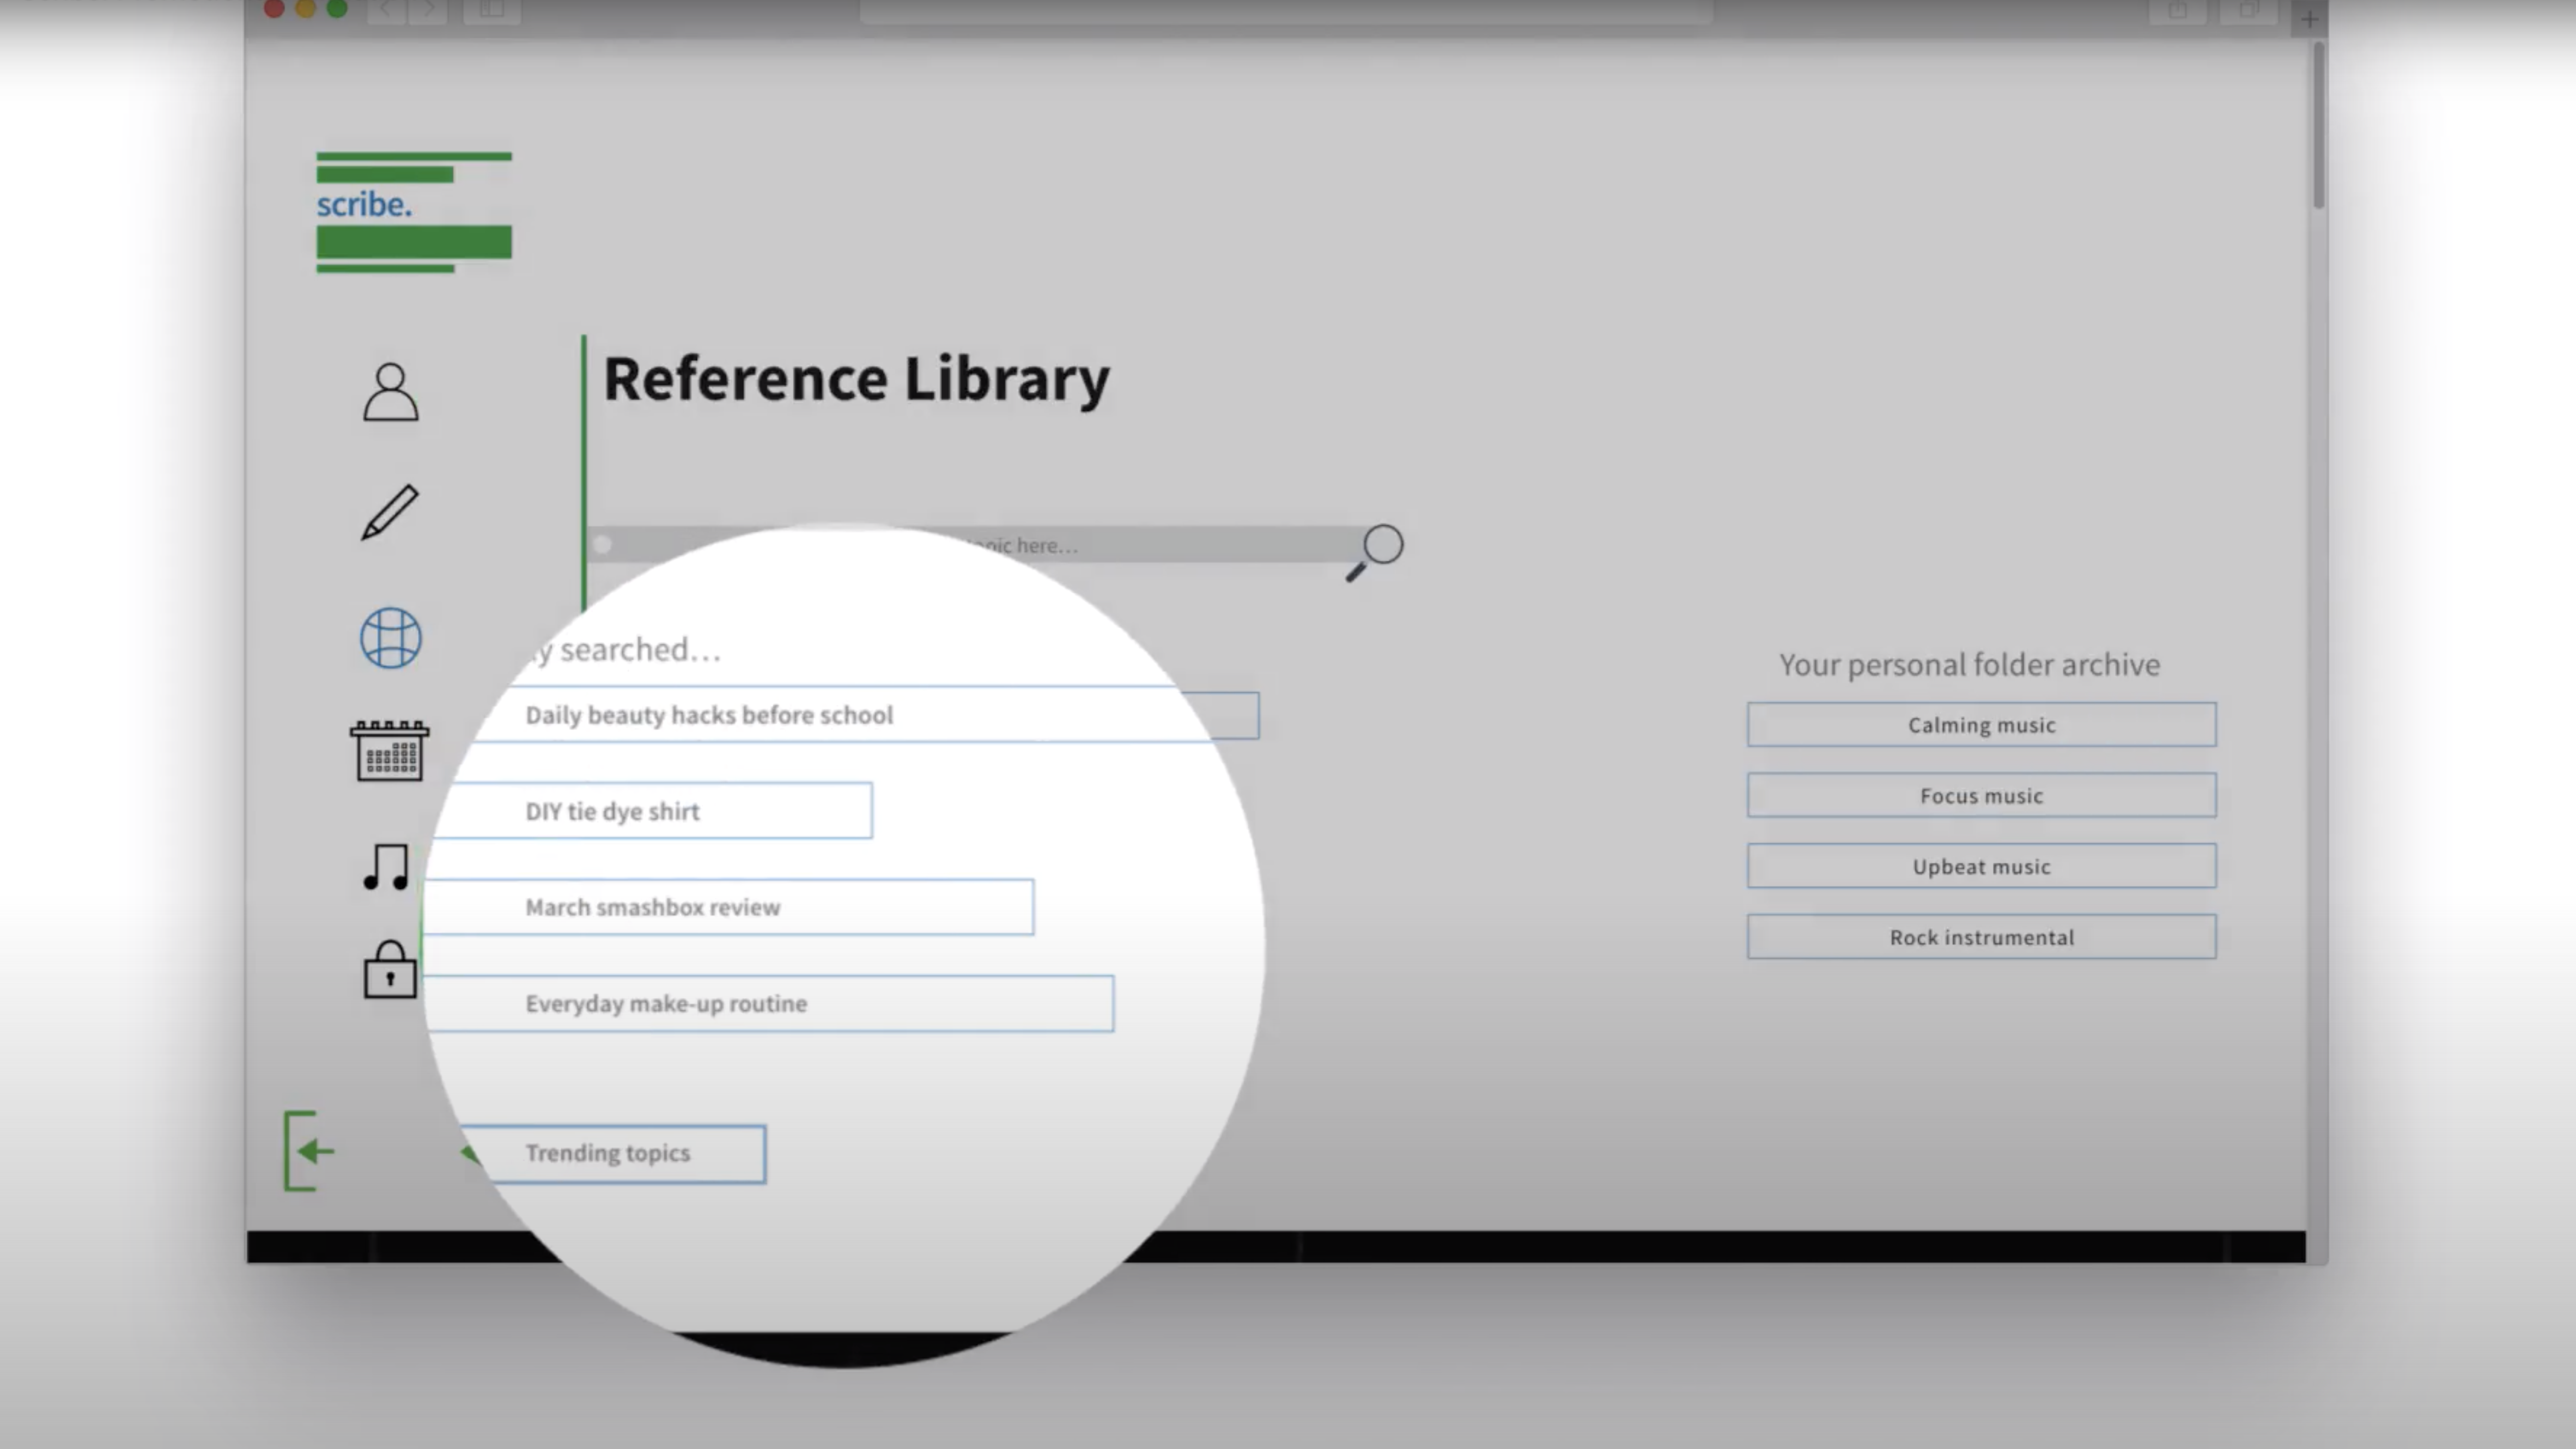
Screencast can be good for software / app live demonstration or how-to tutorials. This style is the least complex, so your internal staff should handle it.
Live presentation is good for live demonstration, online class eLearning or talk points with few visual elements. At medium complexity, your employees should be able to handle this style with some help tips, so keep reading.
| Explainer | Whiteboard | Screencast | Presentation | |
|---|---|---|---|---|
 |
 |
 |
 |
|
| Good for | convey complex ideas | convey complex ideas | app demonstration, how-to | live demo, eLearning class, talk points |
| Can be made in-house | No | Some | Yes | Yes |
| Cost | High | Medium | Low | Medium |
What they wouldn't be able to do better is to tell the specifics about your product / technology. Only you know it inside-out and only you have access to it. Filming it in-house will save you some cost while leaving the rest to the professionals will save you a lot of time and trouble.
2. Get The Equipment
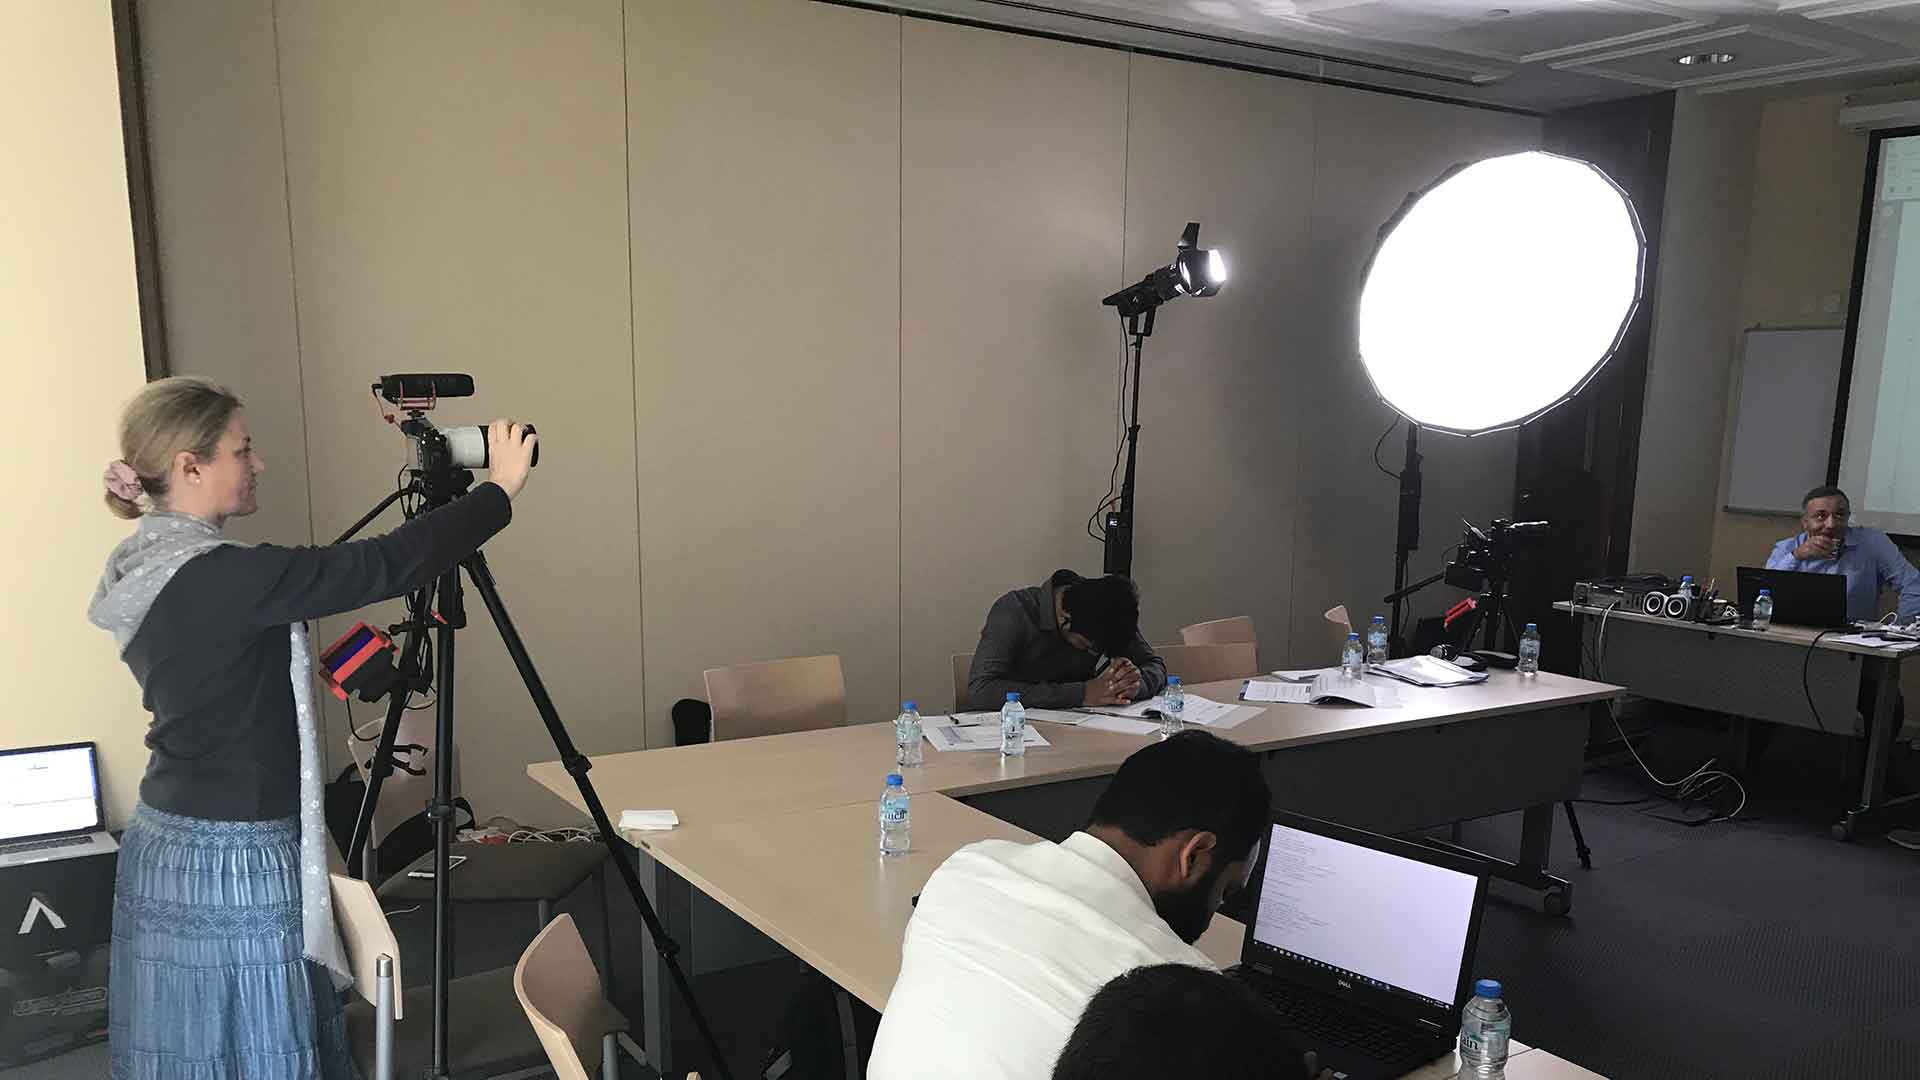
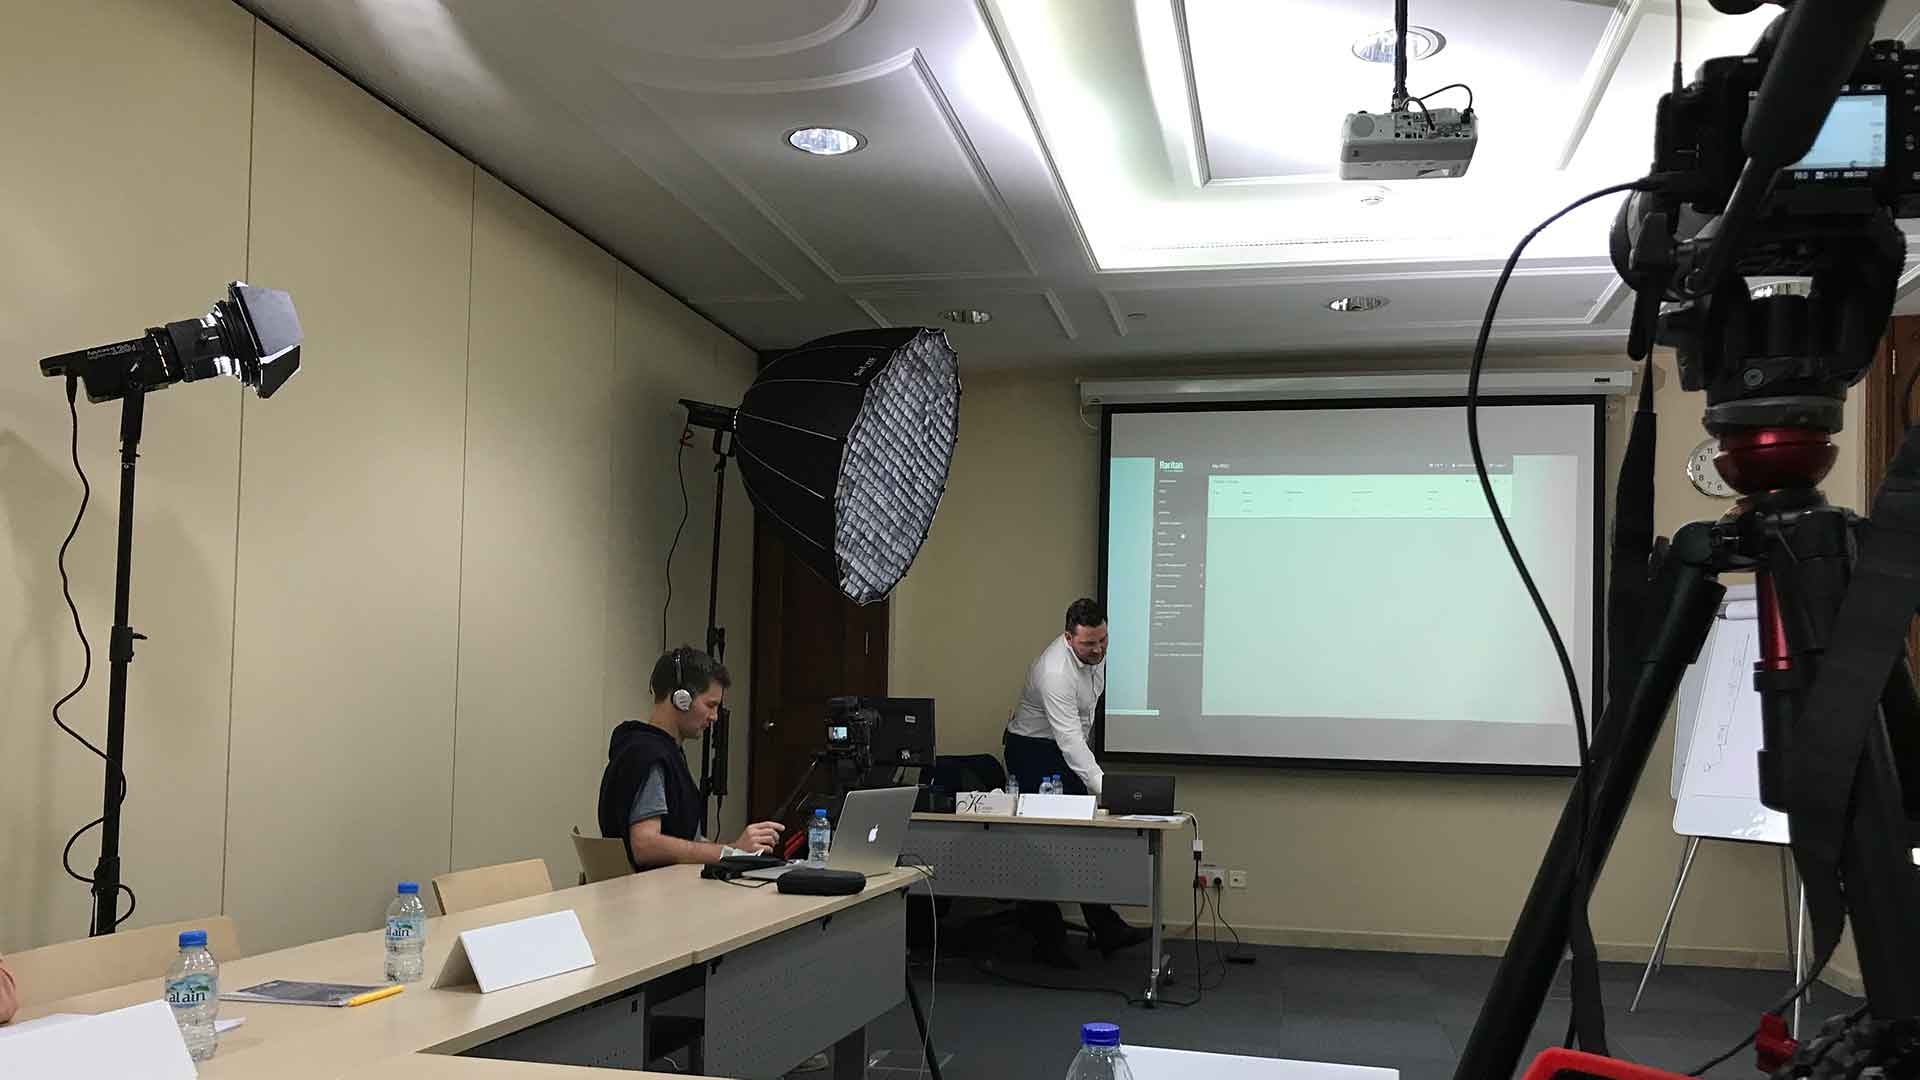
Once you have decided on the style, it's time to start looking for the equipment. You'll need the following if you decided to make a whiteboard video or a live presentation. In case of a screencast video a lapel mic and a screen capturing software is all you need.
If you are making a live presentation video you might want to film it from two angles, so you'll need two cameras. A mobile phone would also do in a pinch.
Stable camera would give your video a much more professional look.
We can't stress enough how important it is to have a good quality audio. Never go with 'camera mic will do'!
You might have one already, so get it ready and make sure you have a few working markers.
This is another thing that either makes or breaks your video. It does not have to be professional video lights, couple floor lamps might do the job. Position it slightly on the sides to avoid sharp shadows on the presenter's face or on the whiteboard.
If you are making a screencast training video you will need a screen capturing software. There are many options available, you can start from this Google search.
3. Create An Outline
Now that your staff is busy finding the filming equipment, it's time to work on the structure. Start from the top and work your way down to the details.
Whether you are making a video course or just one video, outline the main topics you need to cover.
For each topic that you outlined get together a list of PowerPoint slides, images or any other materials that you are going to use in the video.
4. Write A Script
Don't let the title intimidate you, you are not writing a Hollywood script. Think of it as two-column table with some notes. The left column would be your talking points while the right one would be your visuals.
You can write down a spoken script word-to-word, but since you are not going to use a teleprompter, writing down basic talking points would be enough to keep a host/presenter on course.
Write down your visuals to the right against each talking point. It can be a particular PowerPoint slide, an image, a menu point in a software you are making a screencast of, a detail of equipment or on-site live demonstration. Think of titles / annotations or some emphasizing elements to put on top of your video in the editing.
5. Record It
By this point you should have a pretty good idea of what you are doing. You might want to practice it a little bit, but overall it's time to call 'lights, camera, action!'
If you are making a screencast video, you have an option to record your voice separately and then capture your screen interaction to put it together later in the edit. If you want to minimize the editing work, you can record your screencast and your voice in one go. Practice a few times. Start recording and don't be afraid if you made a mistake. Just start over from the last good sentence, you can always cut your mistakes out and piece together good takes in the edit.
It's a good idea to record a live presentation from two angles. For example, one camera films the presenter (frame your presenter up to the waist), while another camera films the whiteboard (if you use one) or an equipment you demonstrate (up close, so you can see the details). Roll both cameras and make a loud clap, this will help to sync the video from both cameras in the edit. Again, you don't have to start from the beginning if you made a mistake. Continue from the last good sentence, and cut out the mistakes in the edit.
6. Edit
Now that you've got your footage ready, it's time to edit it. If you are making a screencast video, most often you can do it right inside your screencast capture app. For everything else you would need an editing software. You can try out something simple, here is a Google search to get you started.
Your basic sequence of actions would be:
7. Get Some Feedback
Being unbiased is difficult, but releasing a half-baked video to your customers is worse. If this is your first training video, it's a good idea to collect some feedback from your fellow employees. Revisions are a normal part of the process, professionals do that too, so fix what needs to be fixed, aaand... Congratulations, your first video is ready!